- A connector for work that must not touch your personal mail.
- A read-only connector for a chat where Claude should look things up but never send, edit or delete.
- A connector with only a Notion workspace on it, so the tool list stays short.
A hub can hold 5 profiles. Delete one to make room for another.
Make a profile
1
Open Connection profiles
In the admin screen, open Connection profiles from the top menu. The
count beside the title says how many of the five are in use.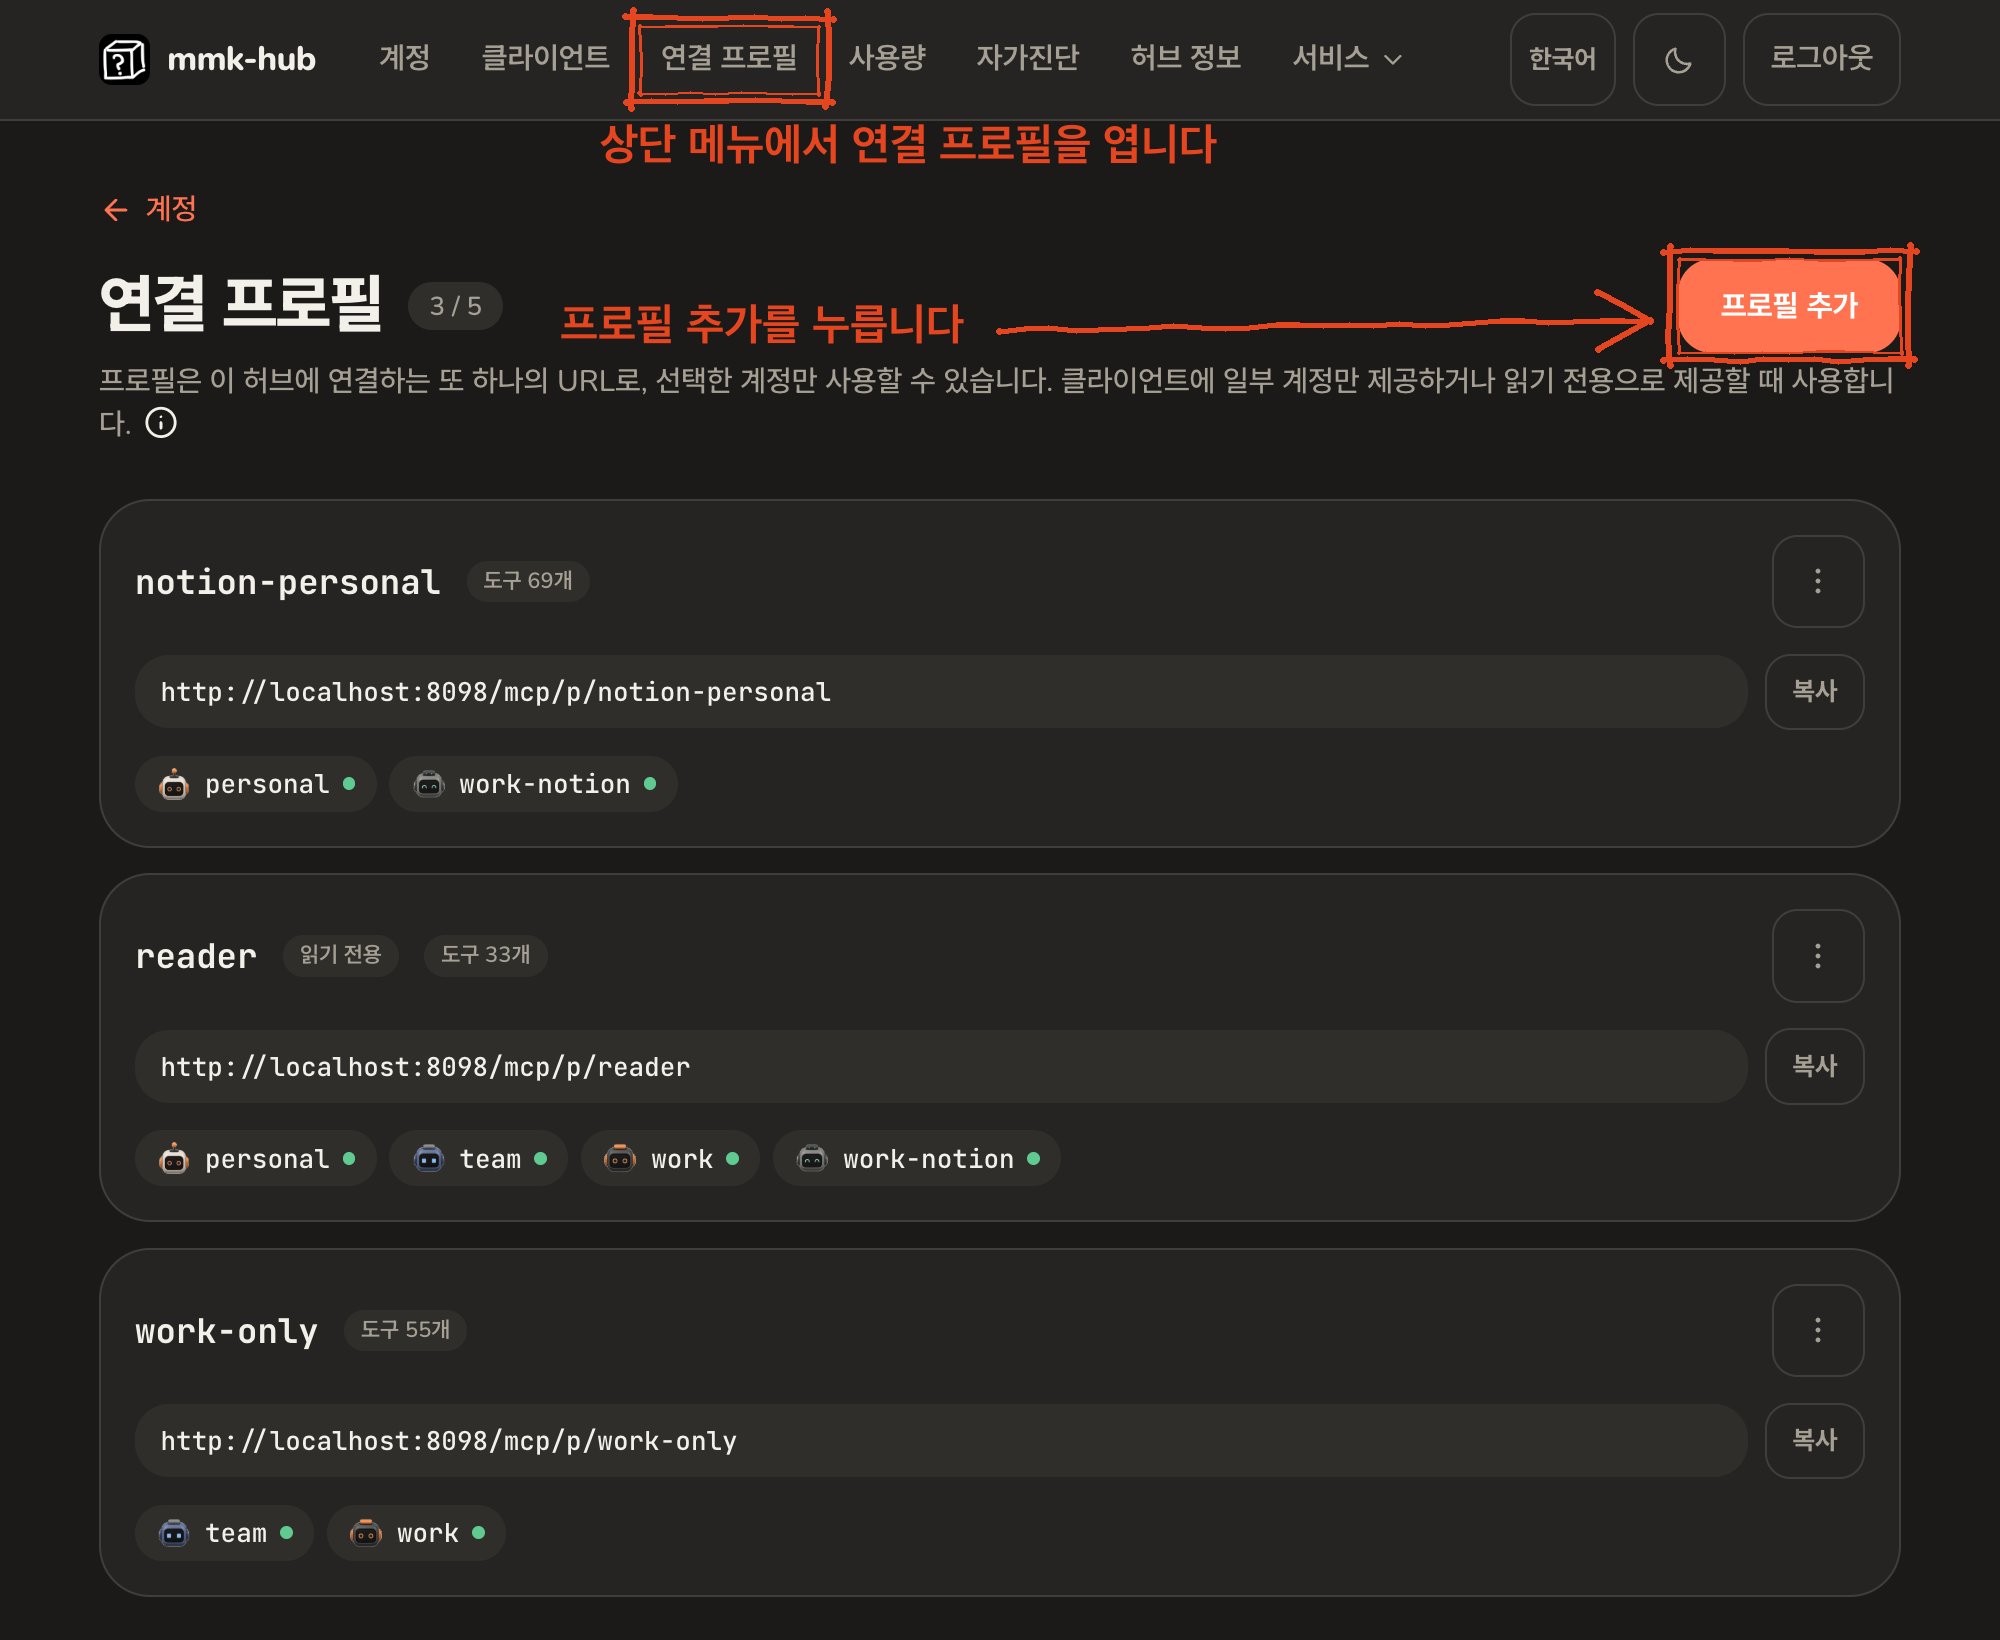
2
Name it, pick the accounts, and decide on read-only
The Name becomes part of the URL: lowercase letters, digits, 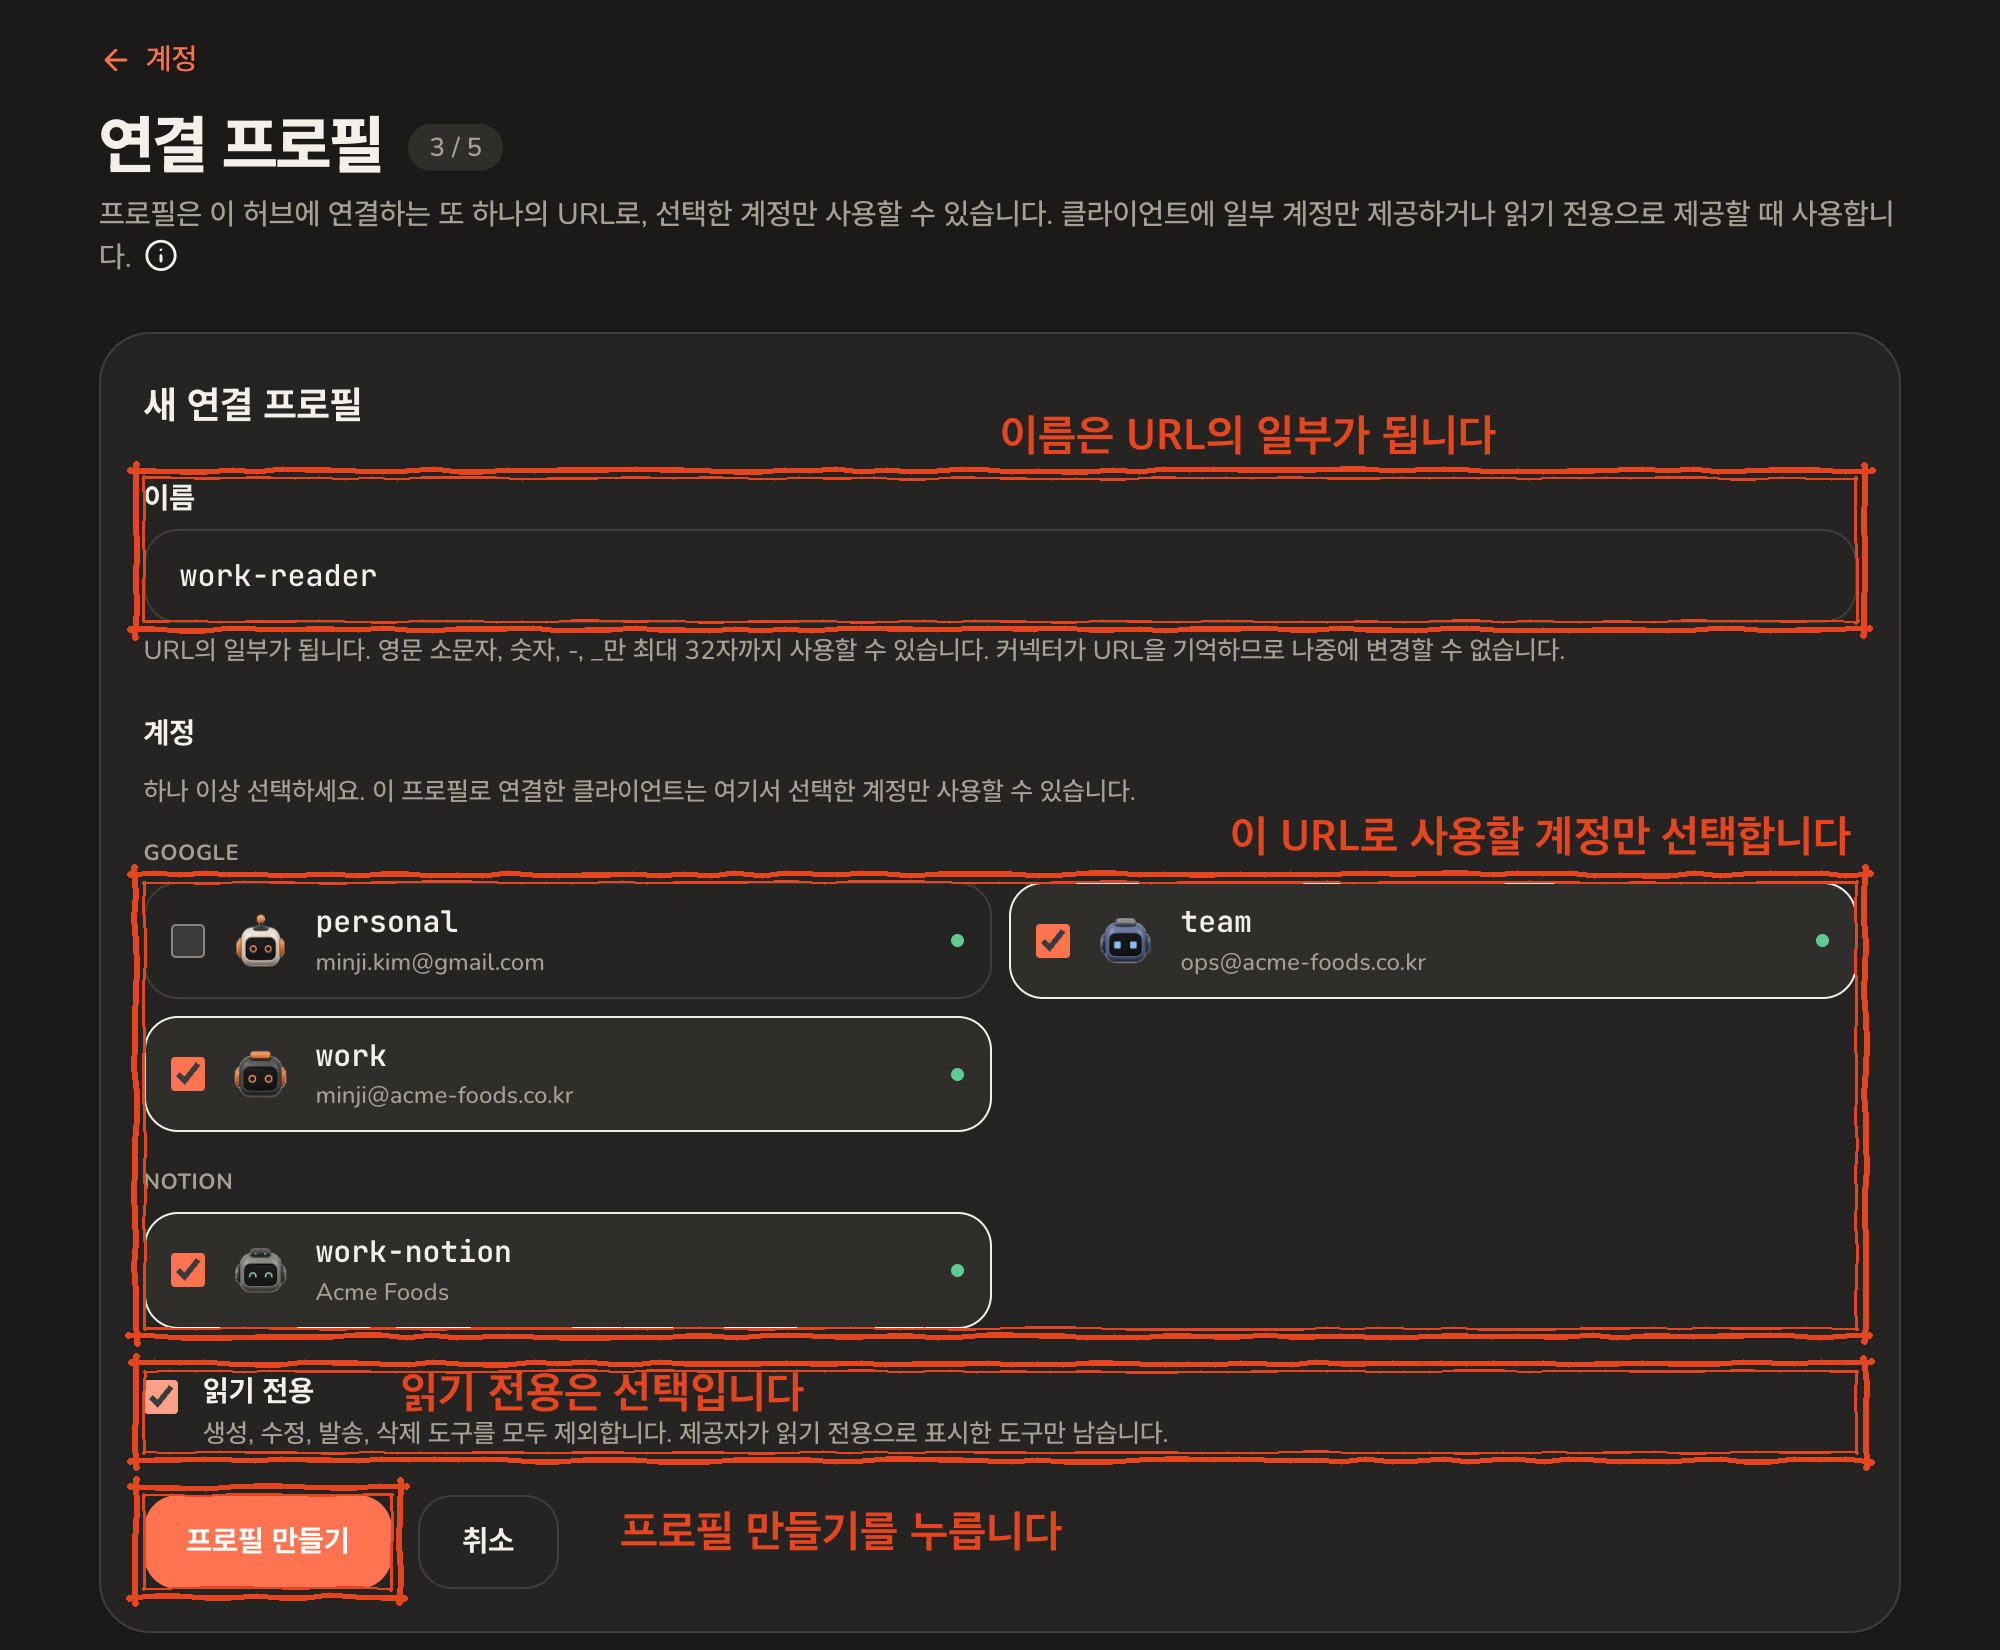
- and
_ only. It cannot be renamed later, because the URL is what the
connector keeps.Under Accounts, tick the accounts this URL should reach. At least
one. A connector on this profile reaches these and no others.Tick Read-only to leave out every tool that can create, change, send
or delete anything. Only tools the provider marks as read-only stay.3
Copy the URL
The new profile appears in the list with its URL, the accounts it reaches
and how many tools it offers. Press Copy.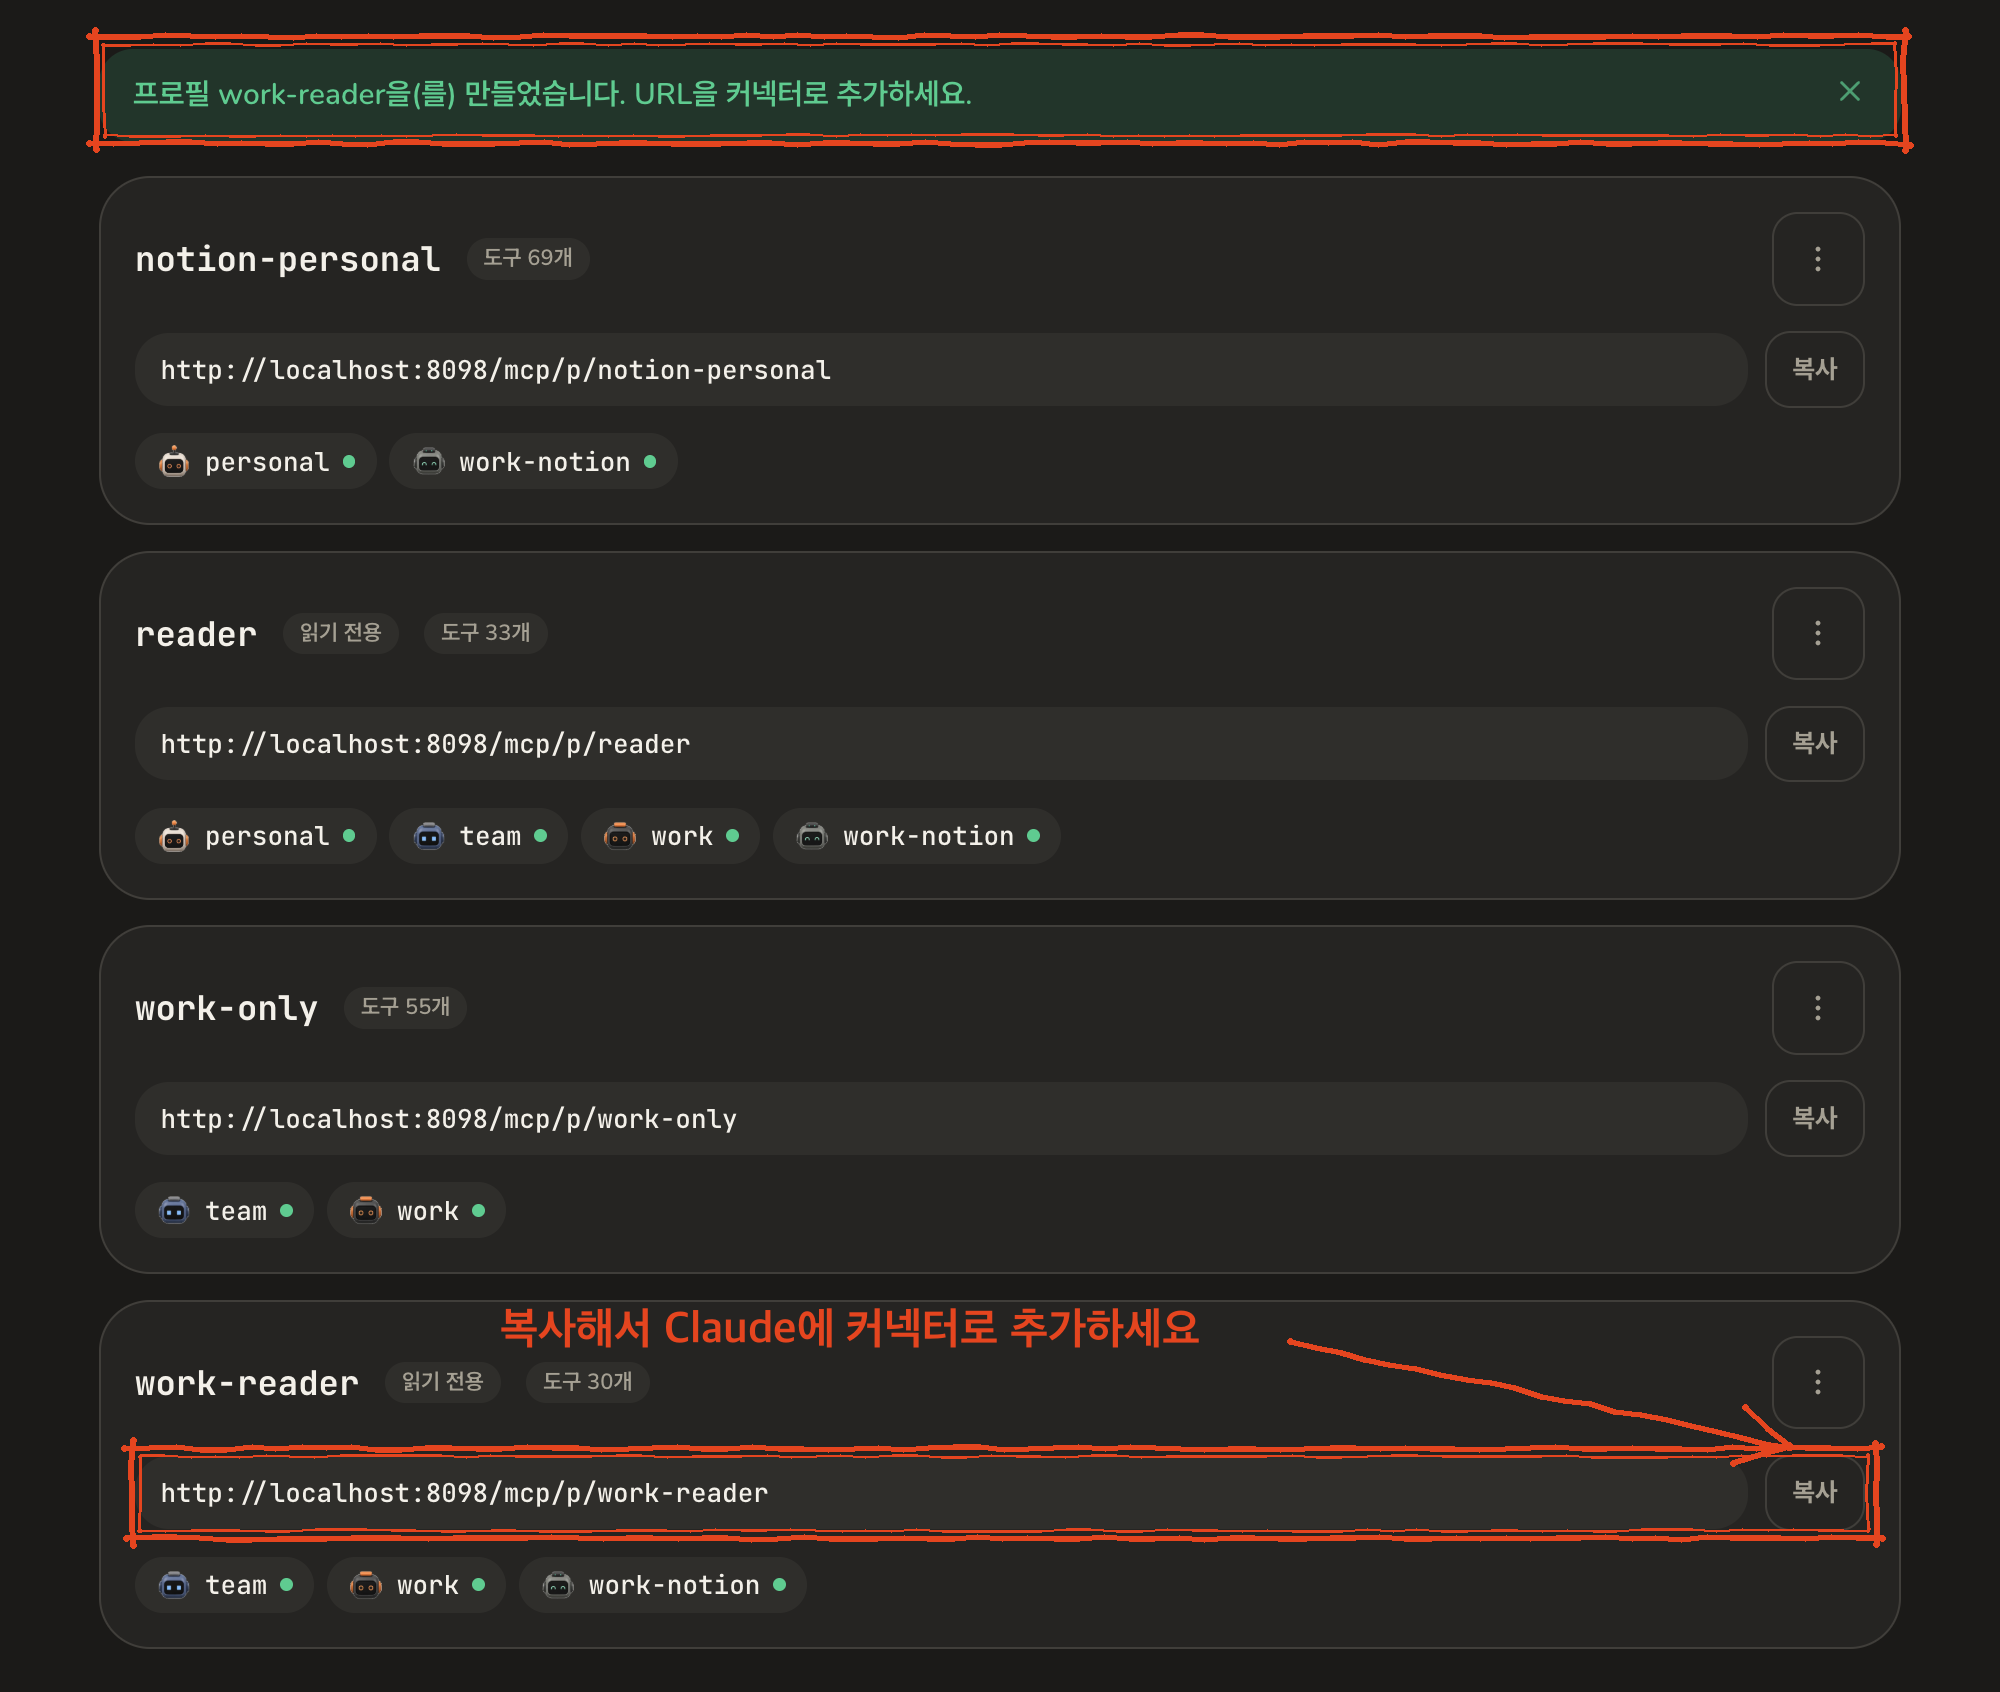
4
Add it to Claude as a separate connector
In Claude, add a custom connector with that URL, exactly as you did for
the main one in Connect Claude. Give it a
name that says what it is for,
hub read-only for example, so you can
tell the two apart in a chat.A profile URL takes the same sign-in as the main URL. Approve it once on
the hub’s sign-in page, the way you did the first time.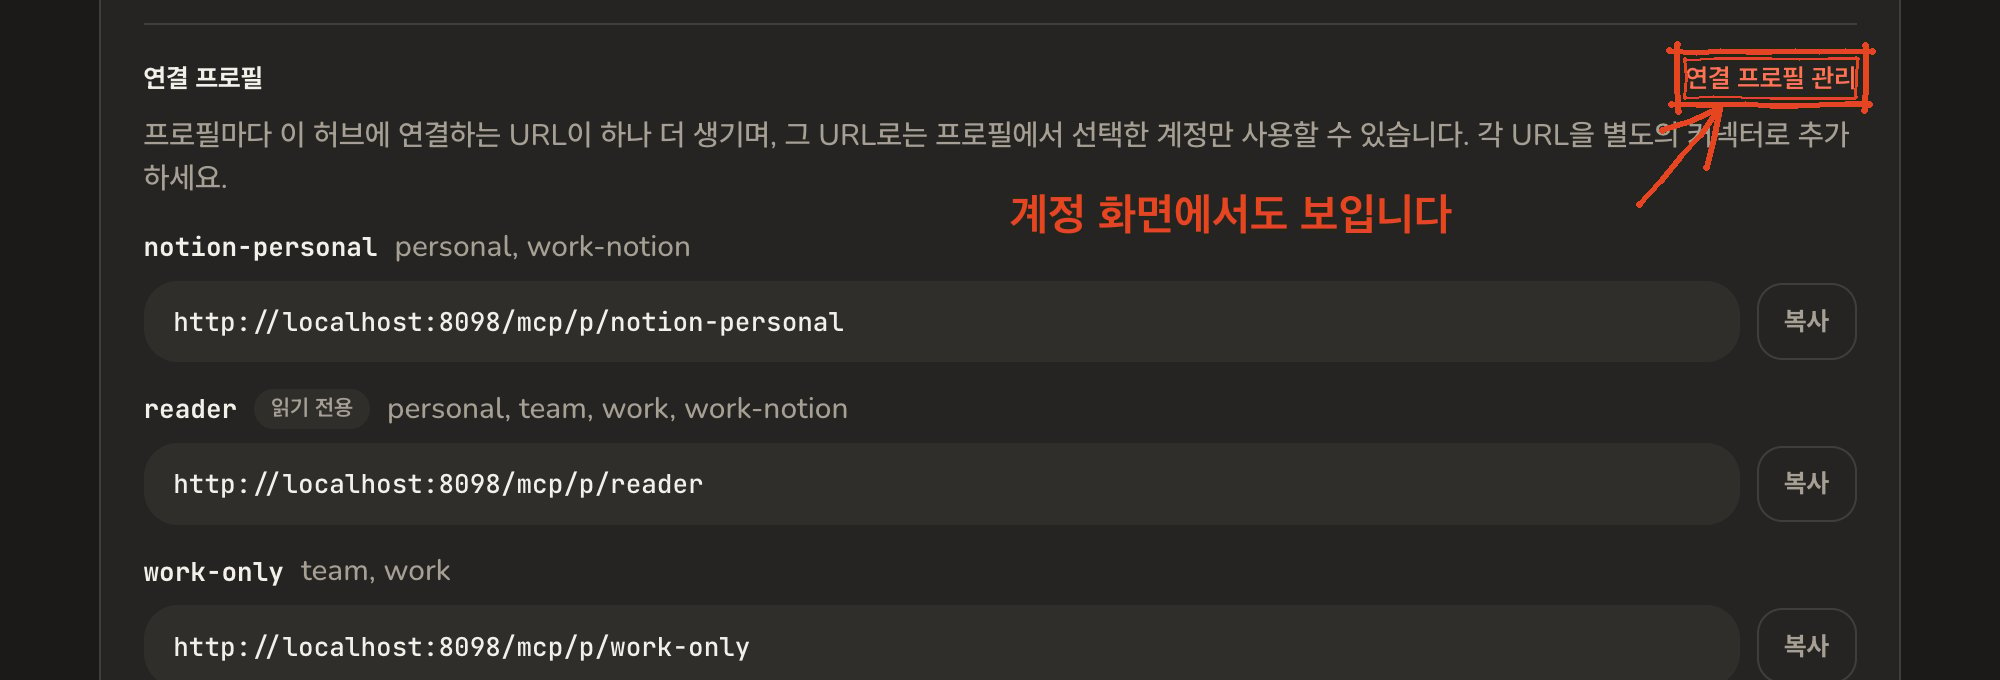
Change or delete a profile
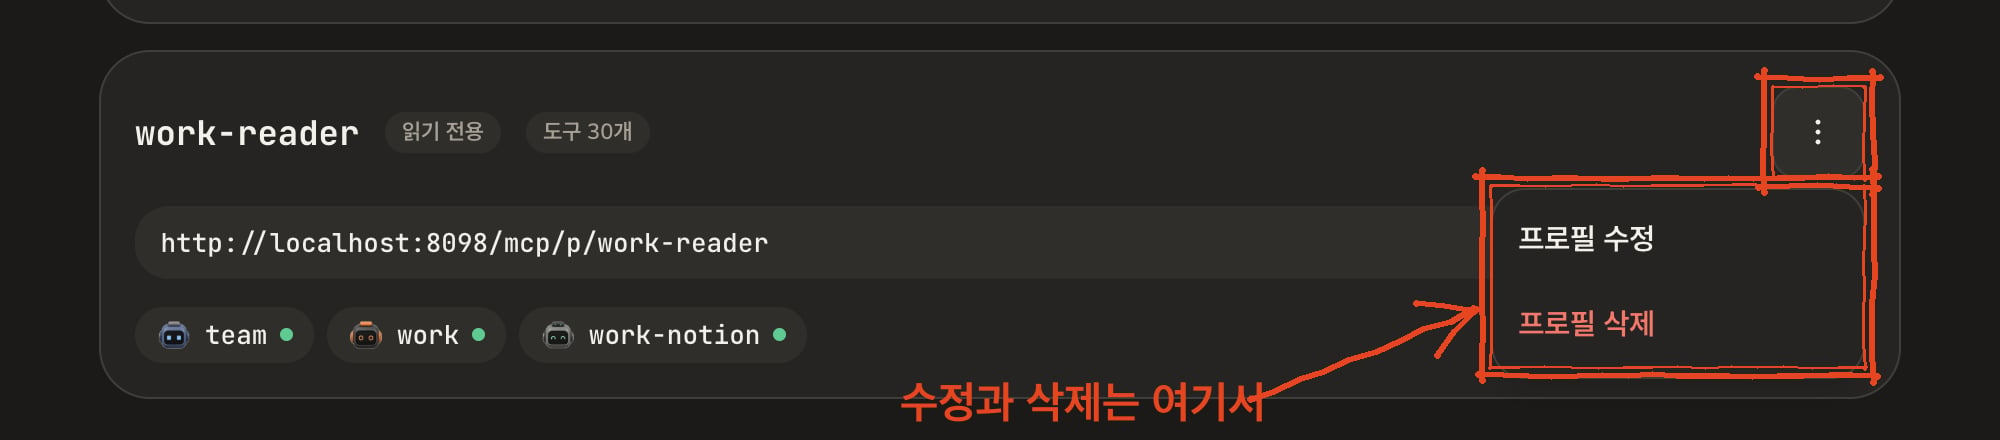
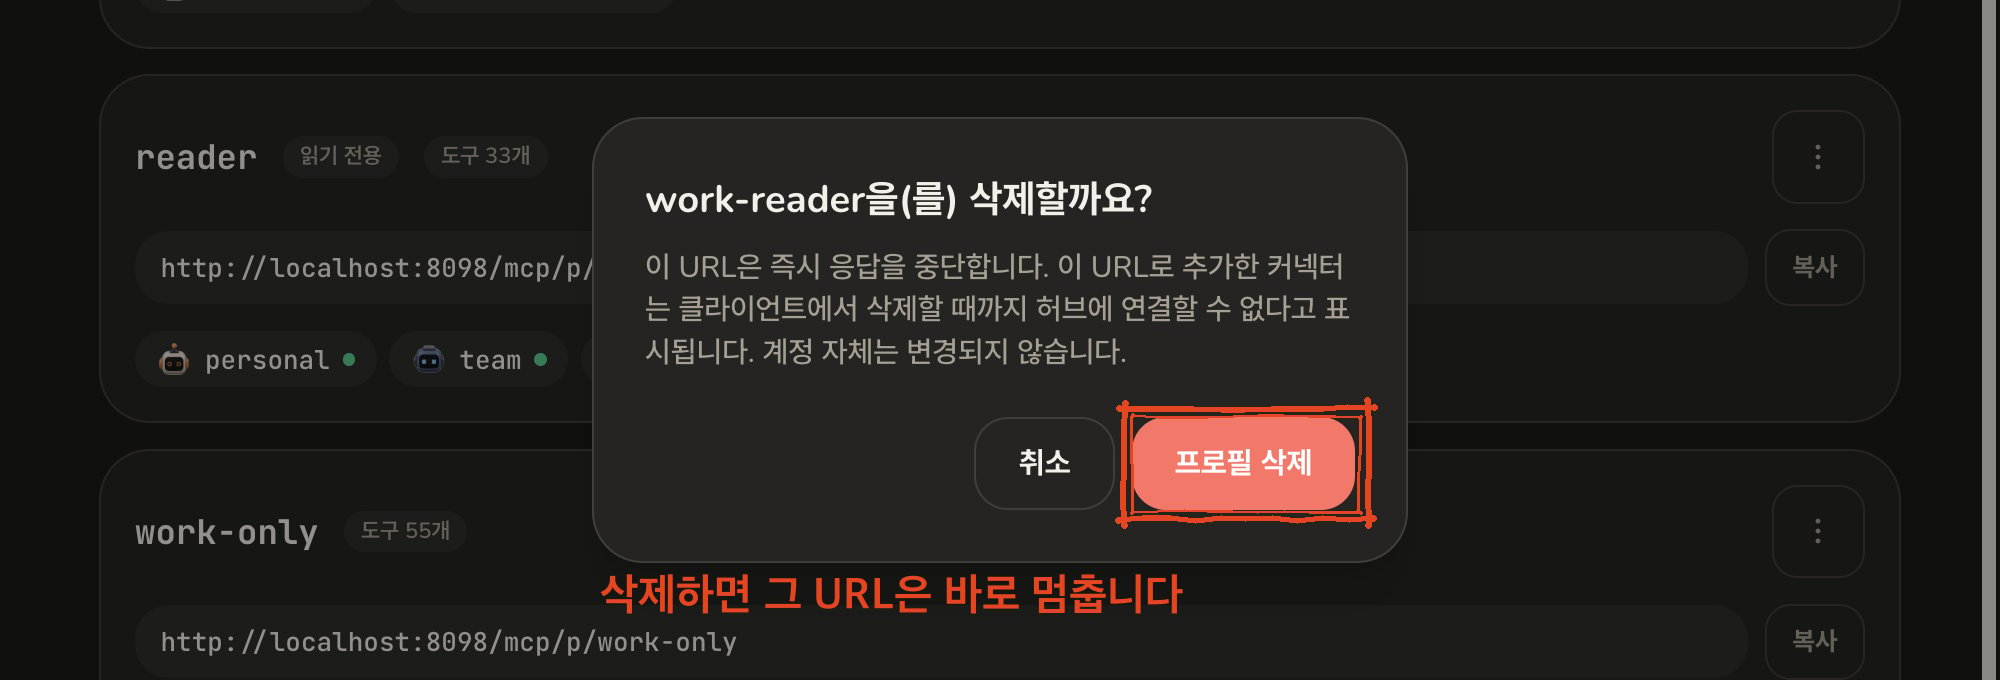
The menu at the top right of each profile has Edit profile and Delete profile.